Importing & Exporting Audio
You must have the game closed when following this guide.
Currently there is no way to add new sounds to the game, only replace existing ones.
Prerequisites
| Sound Editor | Download Here |
| ARC Tool | Download Here |
| WrestleMINUS | Download Here |
Step #1 | Unpacking and Setting up WWise 2017
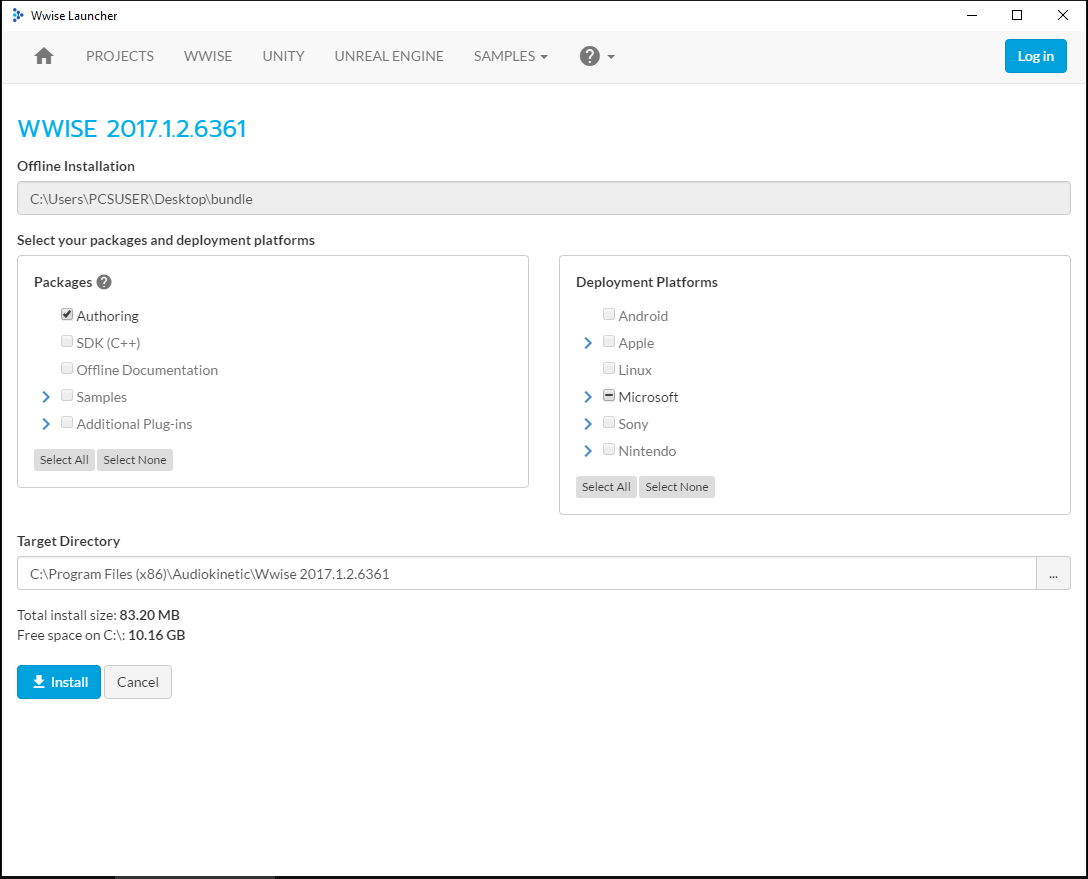
We need to install a copy of WWise 2017.1.2. This comes packed with Sound Editor.
1. Open the dependencies folder and run WwiseLauncher.msi to begin installation. If you receive and alert to sign in, you can dismiss it by clicking outside of it, it is not a requirement.
2. Click install with all default installer properties.
Step #2 | Configuring the Sound Editor
We now configure Sound Editor.
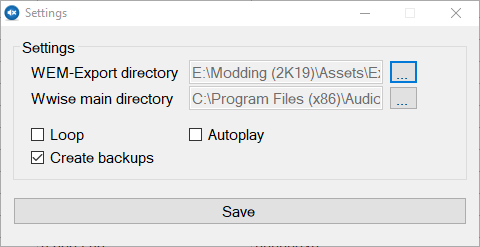
- In the toolbar select Settings, then Settings again to open the configuration panel.
- Click 'WEM-Export directory' and choose a folder you want converted audio to be saved into.
- Click 'Wwise main directory' and select the folder where you installed WWise.
Example: C:\Program Files (x86)\Audiokinetic\Wwise 2017.1.2.636. - It is recommended to tick 'Create backups' but not compulsory.
- Click save.
Step #2 | Converting MP3/WAV to WEM
Audio in 2K games must be in WEM format, MP3 and WAV must be converted into this format. Sound Editor has this functionality.
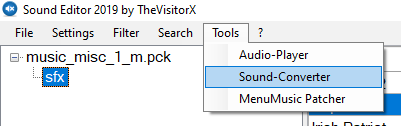
- In the toolbar, select 'Tools', then 'Sound Converter', this will open up a new window.
- With default properties untouched, select your sounds file(s) with 'Select Sounds'.
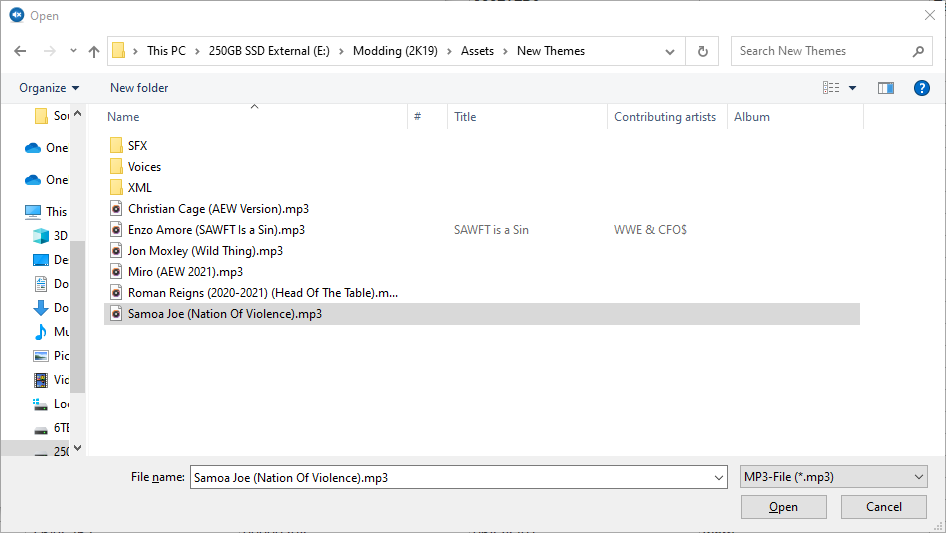
- Click 'Convert', this process will take a few seconds, slower machines can take up to a minute.
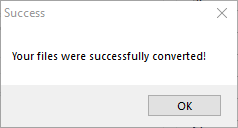
- If everything succeed without error, you will receive the following prompt. Your converted sounds will be in the folder that you selected in the settings.
Step #3 | Replacing a Theme
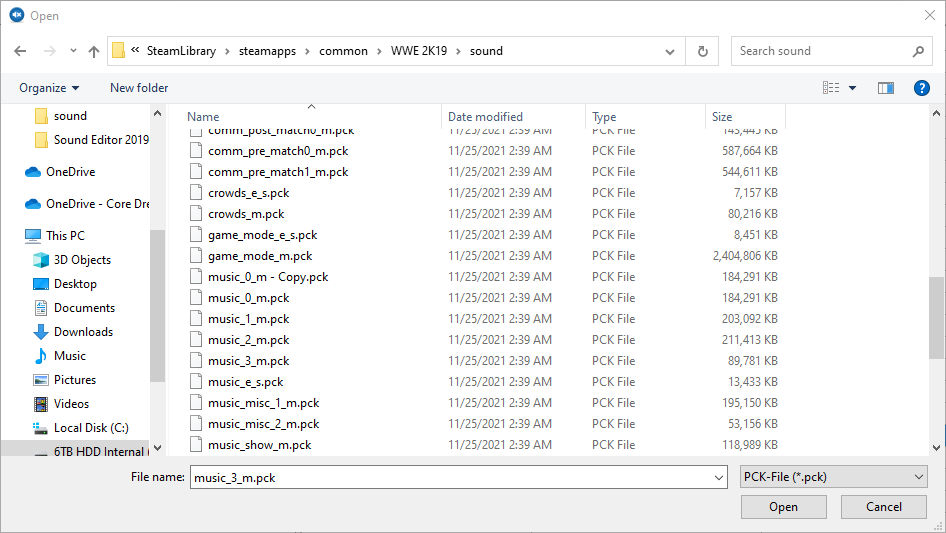
There are several PCK files which have distinct importance. Below is a sample for WWE 2K19 PCK files and what they pertain too.
| music_show_m.pck | Official PPV/Show Themes Pack |
| music_misc_1_m.pck | Generic Themes/Show Themes Pack 1 |
| music_misc_2_m.pck | Generic Themes/Show Themes Pack 2 |
| music_0_m.pck | Superstar Themes Pack 1 |
| music_1_m.pck | Superstar Themes Pack 2 |
| music_2_m.pck | Superstar Themes Pack 3 |
| music_3_m.pck | Superstar Tag Team/Trio/Stable Themes Pack |
Load the preferred PCK file you are wanting to replace audio in. This is located in your WWE game installation folder under sounds.
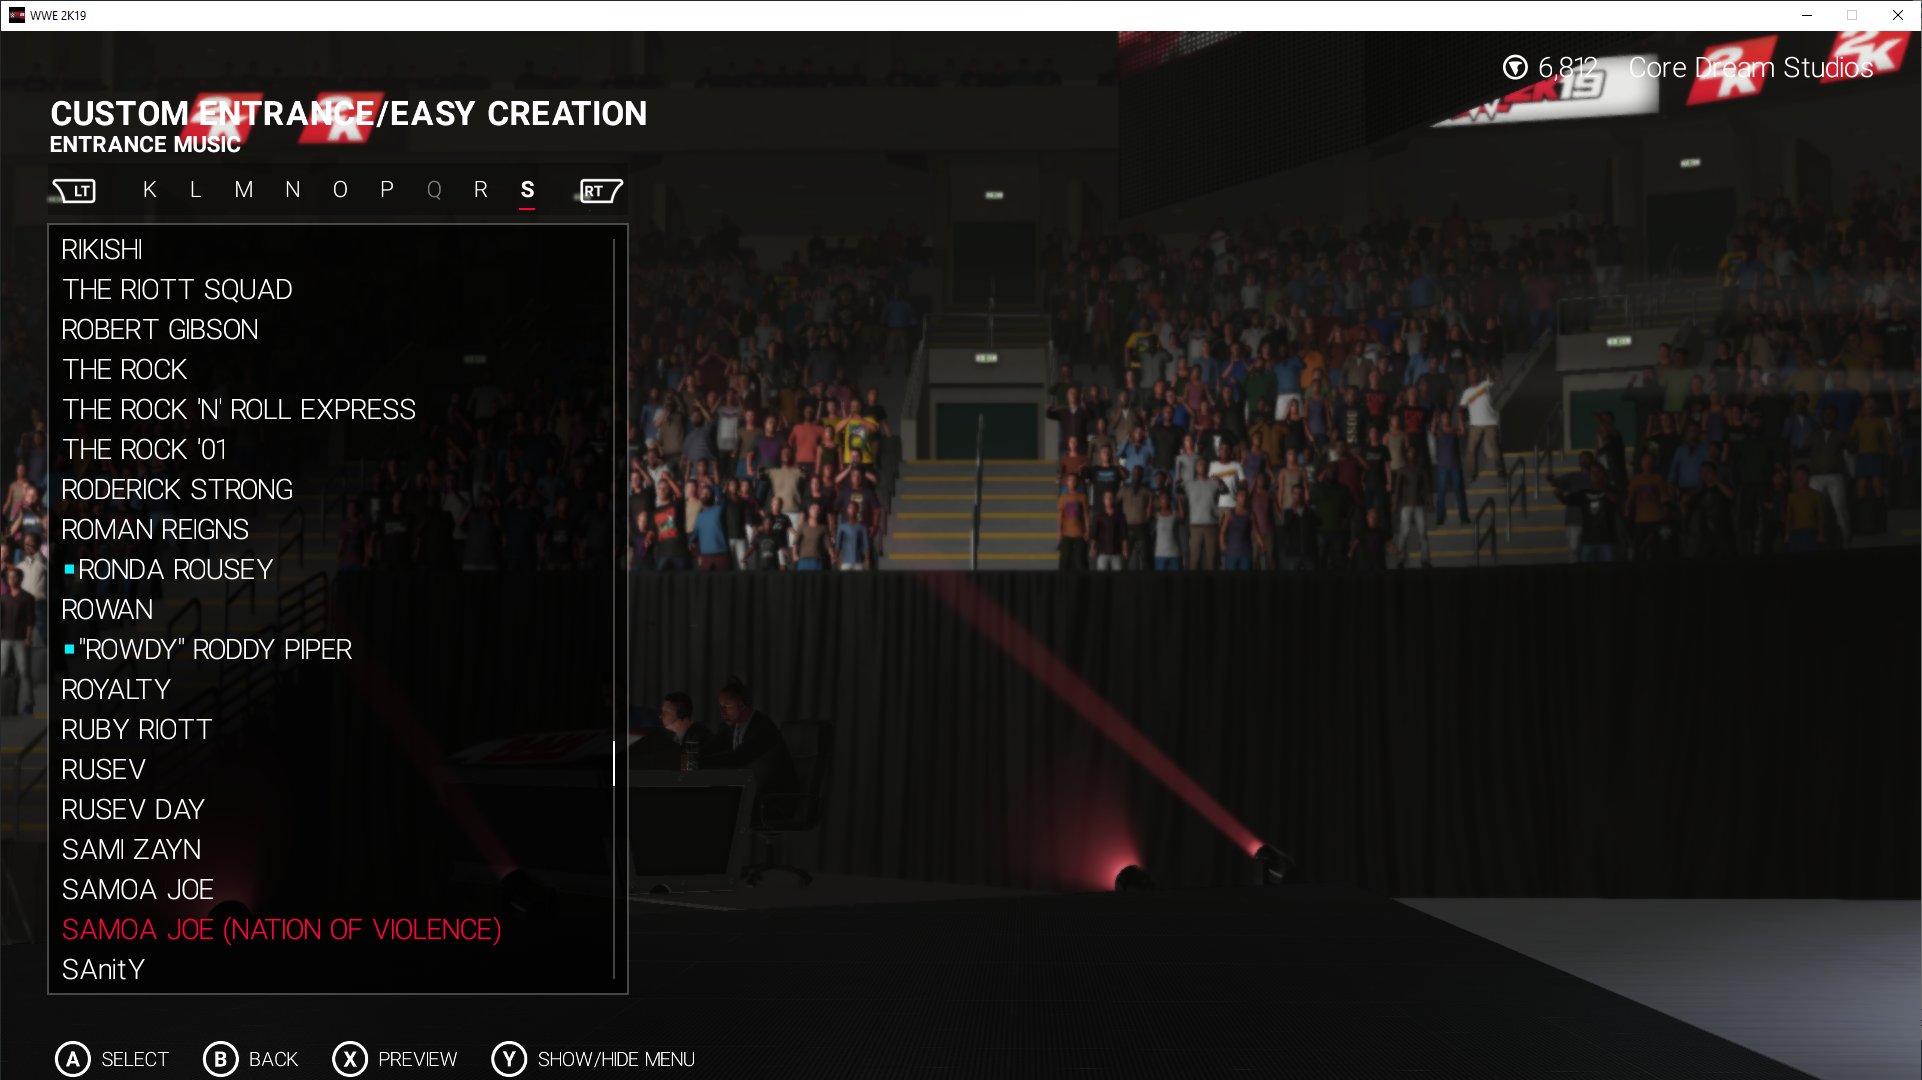
For this example we are going to replace the Irish Patriot generic theme.
- Click 'file > open', and select music_misc_1_m.pck.
- Scroll until you see 'Irish Patriot' or 'THEME Irish Patriot'. It is recommended that you backup your files all the time. To backup, right click an entry and choose 'Export' and save to your backup folder.
- Right click 'Irish Patriot' and click Import. Find and select a WEM you want to use.
For this example, we used the Samoa Joe (Nation of Violence) theme.
You can right-click and select Play to preview any audio sample.
Step #4 | Adding a Theme Name (Easier than replacing the name)
Now that we have our theme in the game, using the example in Step #3, we need to change the string as well so we can find it in the menu under Themes. For this, we will need to use WrestleMINUS, which will allow us to
edit this area.
- Open up WrestleMINUS and go to the following location.
WWE 2K19 / pac / string / win / string_win.pac / 97ED1B14BC036AE7 / 00000000 / 00000000 UNCOMPRESS, - Click this entry.
- On the right area, click 'String Viewer' located in the tabs, this will show a grid of all strings in this PAC file.
- Scroll to the end and click 'Add', this will create a new entry below.
- Change the HexRef to a value not used in the list, anything under FFFFF will work, but it is recommended to just increment; example E7F86.
- Then change the 'String Text' to what you need it to be, for this example: Samoa Joe (Nation of Violence).
- Click Save.
The next part of this guide can be confusing for people new to modding. Keep a close eye on important details.
- Open up ARC Tool. Select File / Open Archive from the toolbar (hotkey O) and open cae_item.pac file in the Game Dir / Pac / Menu / folder.
- Right click '0002' and click 'Export Uncompressed Archive', and save it to a safe location. We will need it for WrestleMINUS.
- Back in WrestleMINUS, drag the newly exported file into the window.
- For this example, we look for Irish Patriot. You can sort by 'CAE Name' by clicking the 'CAE Name' header.
- We replace the String Ref here with the new one we made earlier, for our example it is 'E7F86' . If this succeeded it should change in the 'CAE Name'. If you get a exception error, that means the entry is invalid or missing in string_win.pac.
- Select 'Save Changes' and load your game.
Step #5 | Congratulations
Well done! That is the full theme replacement for your game.