Introduction to Textures
Prerequisites
| Compressonator | Download Here |
Texture Asset Type Table [DRAFT]
|
TYPE |
FORMAT |
QUALITY |
| Clothing | BC1 | 1.0 |
| Crowd Signs | BC3 | 1.0 |
Texture Data Table
|
TYPE |
FORMAT |
QUALITY |
| _color | BC1 | 1.0 |
| _nrm | BC7 | 0.05 (Dev) | 0.5 (Production) |
| _roughness | ATI1N | 0.05 (Dev) | 1 (Production) |
| _metal | ATI1N | 0.05 (Dev) | 1 (Production) |
| _normal | ATI2N | 0.05 (Dev) | 1 (Production) |
Introduction
We have been acquainted over the years with saving textures through Photoshop or Paint.NET into the DDS format. This is still the case in WWE 2K22, however the compression settings and process is entirely different to before. If you do not follow this walkthrough, your textures may work, but will appear with artifacts or crash the game itself.
Please remember to now use .TIF files instead of Photoshop .PSD. PSD is a deprecated file format and Compressonator will not accept it.
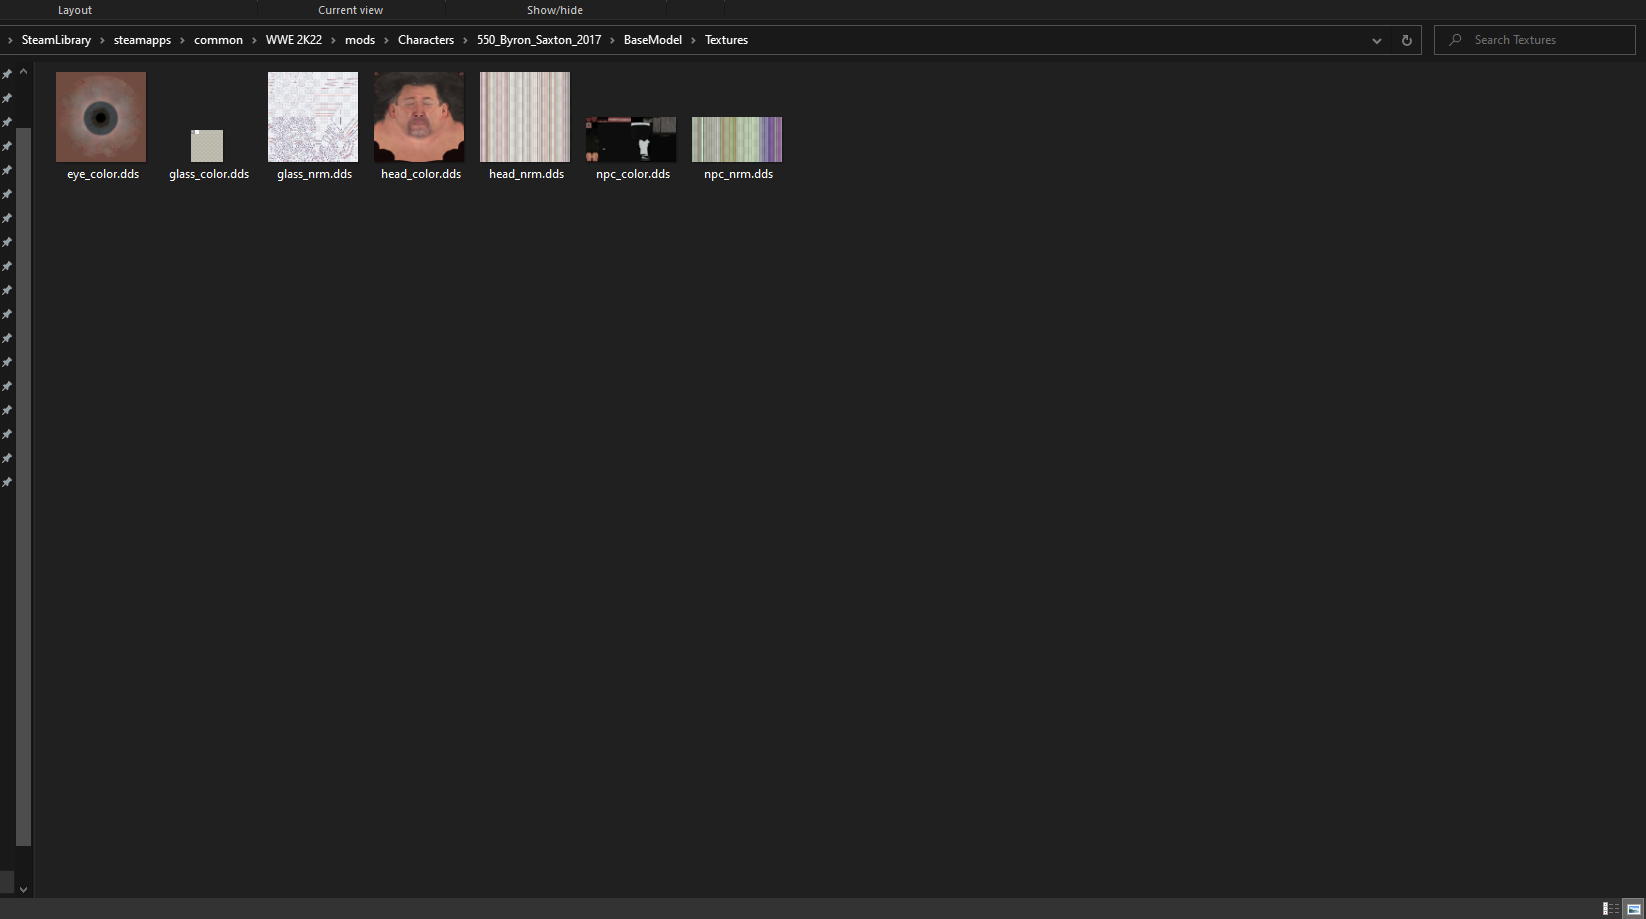
_color:
This is a very common texture that you will find inside the games archives. This is now your diffuse/albedo map, which contains all the colour information for your mesh.
_nrm:
Also common, this file controls the prominent characteristics of whatever mesh the textures point too. The breakdown is as follows.
- Red/Green channels control the actual normal map information, however the green channel is now flipped from previous games.
- Blue channel is your roughness. Roughness controls how rough or smooth a Material's surface is. Rough materials scatter reflected light in more directions than smooth materials, which controls how blurry or sharp a reflection is (or how broad or tight a specular highlight is).
- Alpha (if it exists) channel is your metallic, this controls how 'metal-like' your surface will be. Nonmetals have metallic values of 0 and metals have metallic values of 1
_roughness:
This is the same logic as above, except in certain cases (belts for example) have it separated from the normal map. These separated files have different compression settings than the combined nrm.
_metallic:
This is the same logic as above, except in certain cases (belts for example) have it separated from the normal map. These separated files have different compression settings than the combined nrm.
_normal:
This is the same logic as above, These separated files have different compression settings than the combined nrm.
Step #1 | Project Setup
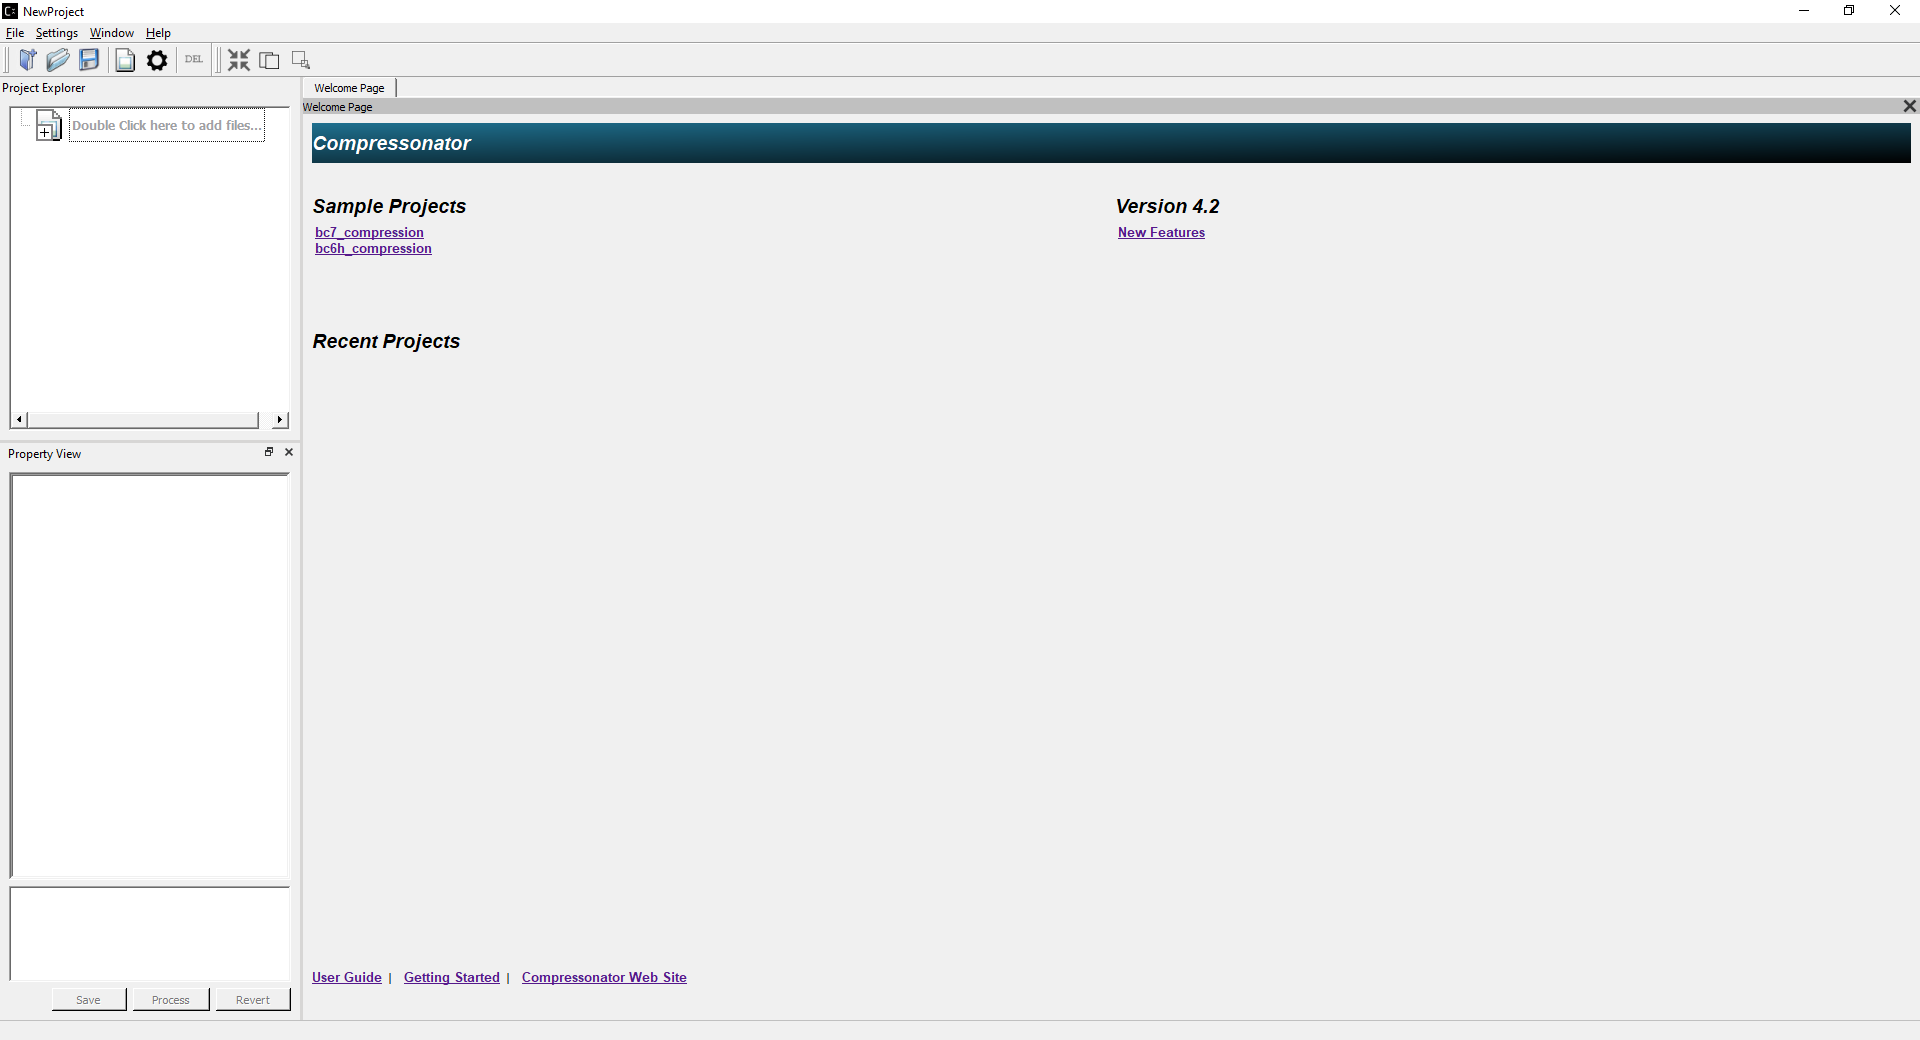
We are now working with Compressonator, this tool will handle the compression and output of our DDS files with a single click once setup. When you open Compressonator, you will be presented with the image below. Follow the next steps.
- File, New Project.
- Enter a name for your project and select the location of your mod work directory.
- Perform a save to make sure your project has successfully been stored.
Step #2 | Texture Setup
We are now going to add textures to our project, when this step has been done you will only need to select the textures you wish to process and click Process.
- Double click Double click here to add files and select your _color.tif
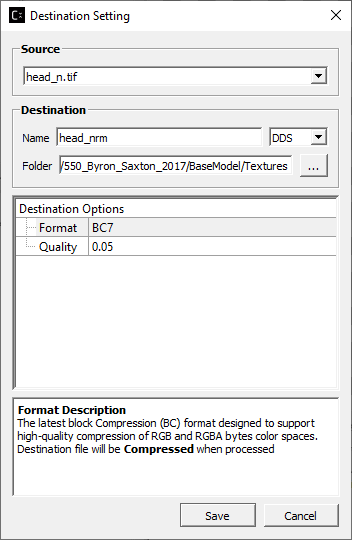
- You will see your texture on the left side. Expand it inside the list and double click Add destination settings. The software will now look something similar to this:
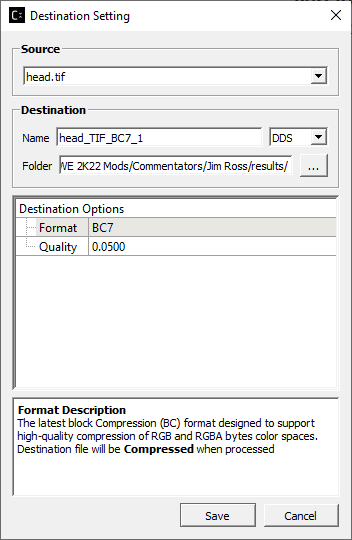
- Refer to the data table at the beginning of this tutorial for which Format you may need. For this tutorial we will need
-
- Format: DXT1
- Quality: 1 (production)
-
- Configure the folder path to where you wish the textures to be saved too once processed.
- Configure the name of your texture to match the required suffix. In this case _color

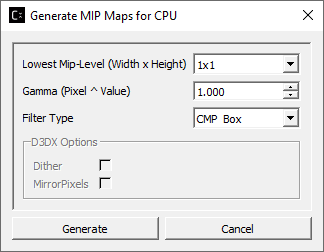
- Now we must generate mipmaps for this texture (recommend for finalized production, but for the sake of this tutorial we will do it now.
- Select your texture, making sure it is highlighted and click the generate mipmap button found on the toolbar.
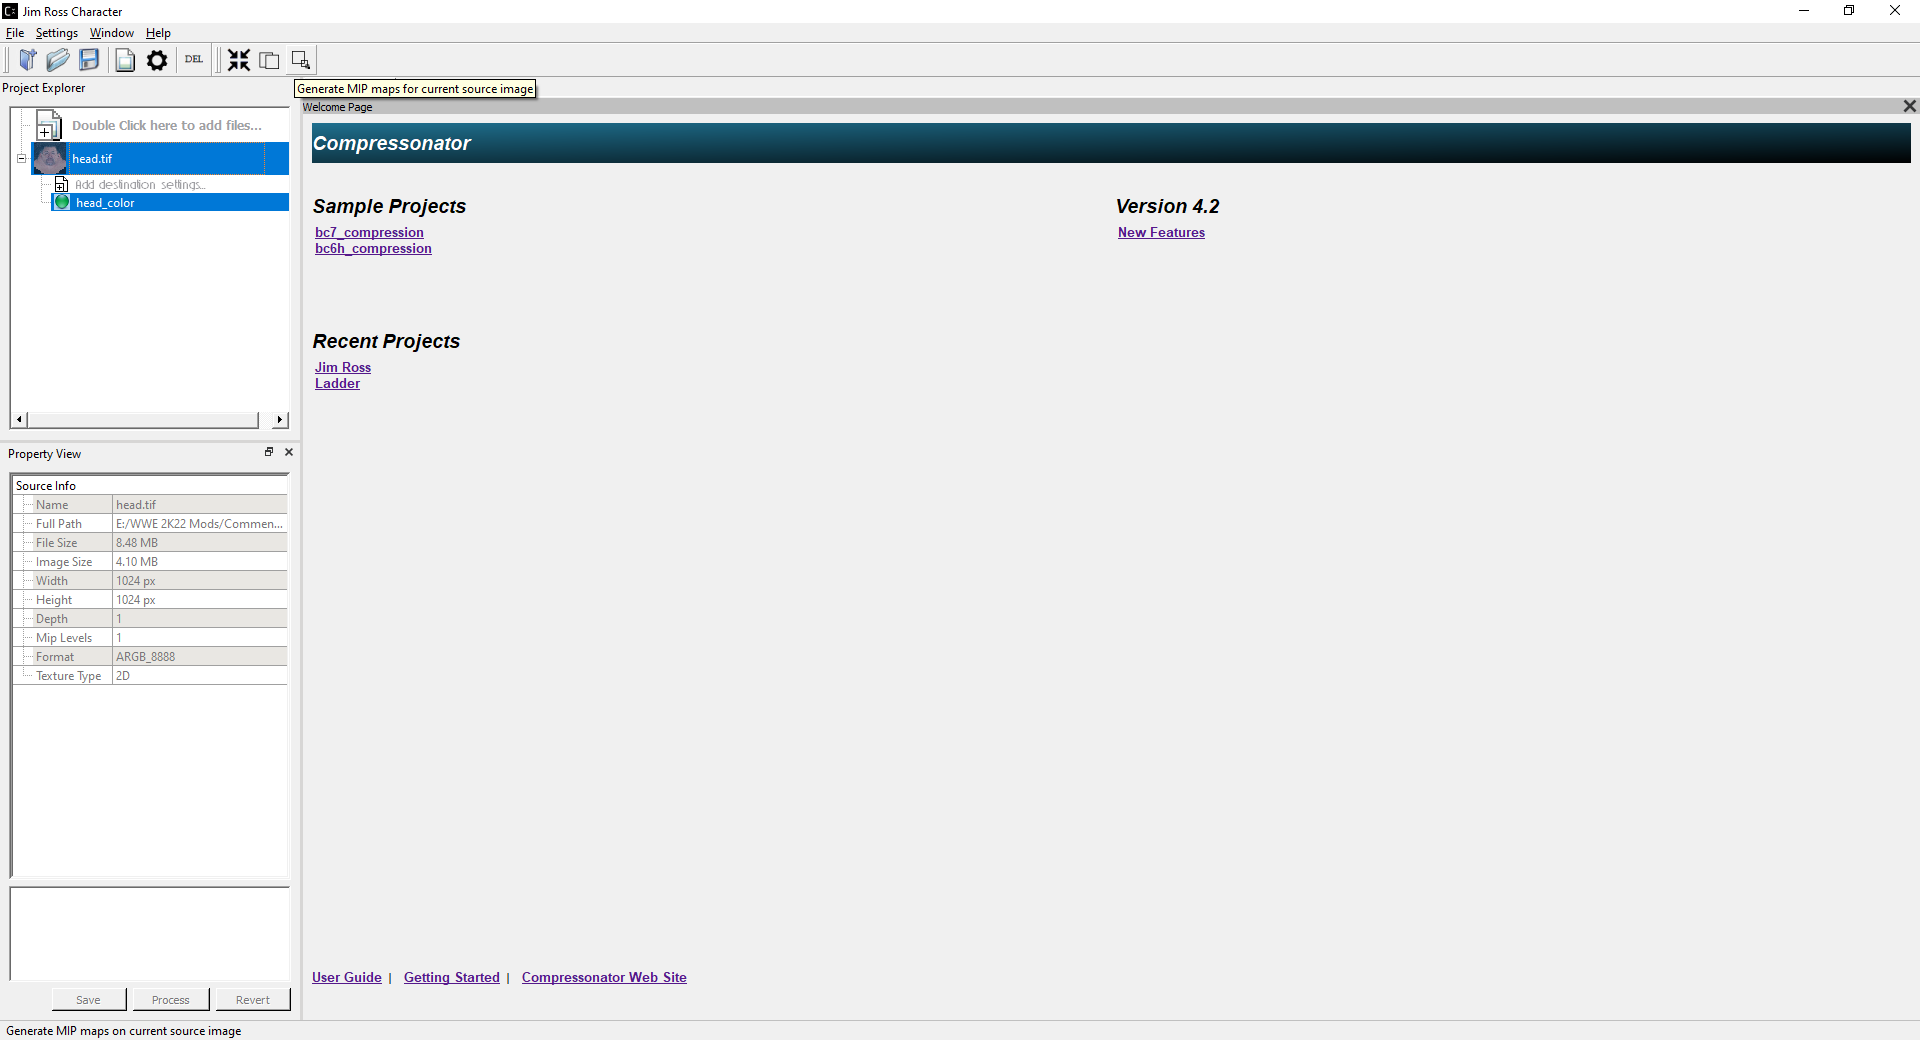
- A popup will appear, select OK with the default settings and the tool will the generate mipmaps for that particular texture.
- Repeat this entire texture process for the rest of your texture(s), following the data sheet provided at the beginning of this page. For us, we will be doing the nrm texture.
- We do not recommend that you set the quality to 1 for nrm. For time saving it is best to use 0.05 for quality testing, and then 0.5 for production (finished).
Step #3 | Processing Textures
This is the fun bit, once you have setup your textures correctly. Highlight the textures that you wish to process, and click Process Selected Images in the toolbar.
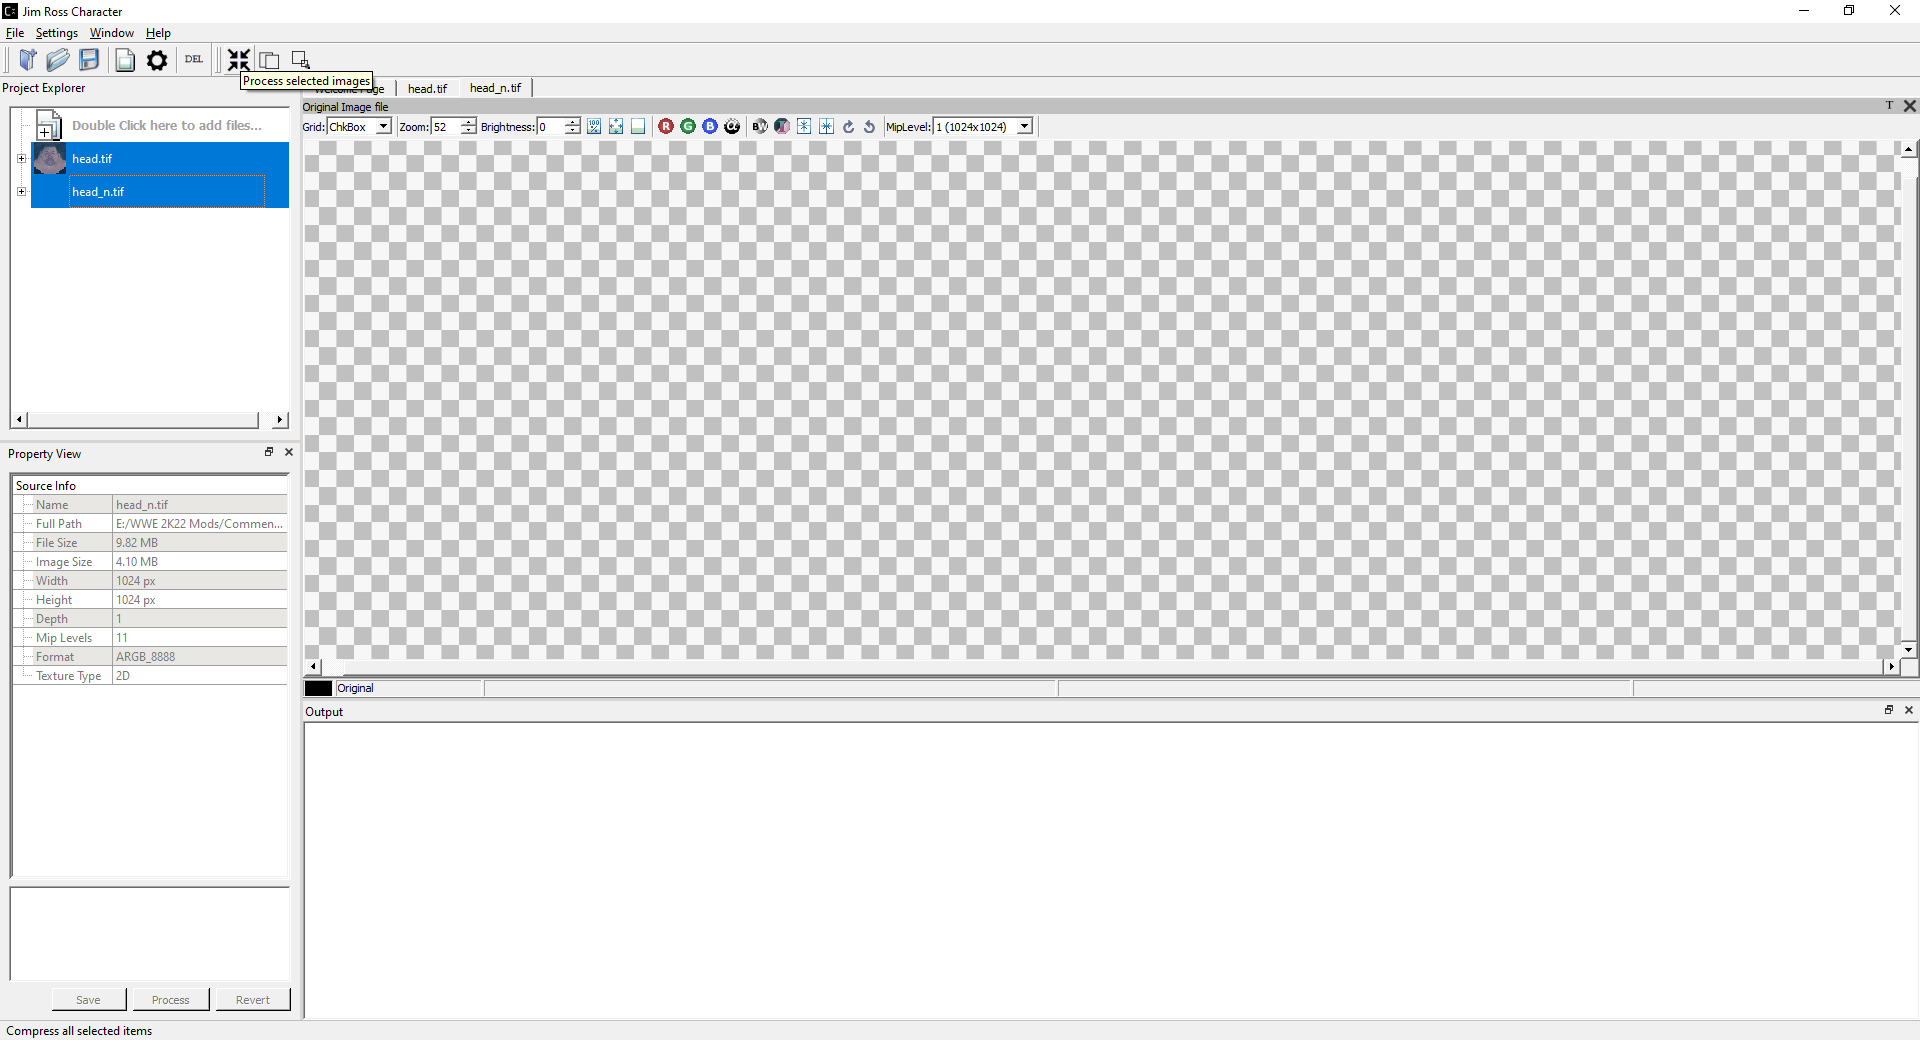
This will save out your images in high quality compression with very minimal if at all destruction of your texture. Using the correct settings will get you the same result that 2K use for their texture pipeline.
Always remember to save your project when adding new textures and once you configure their output.
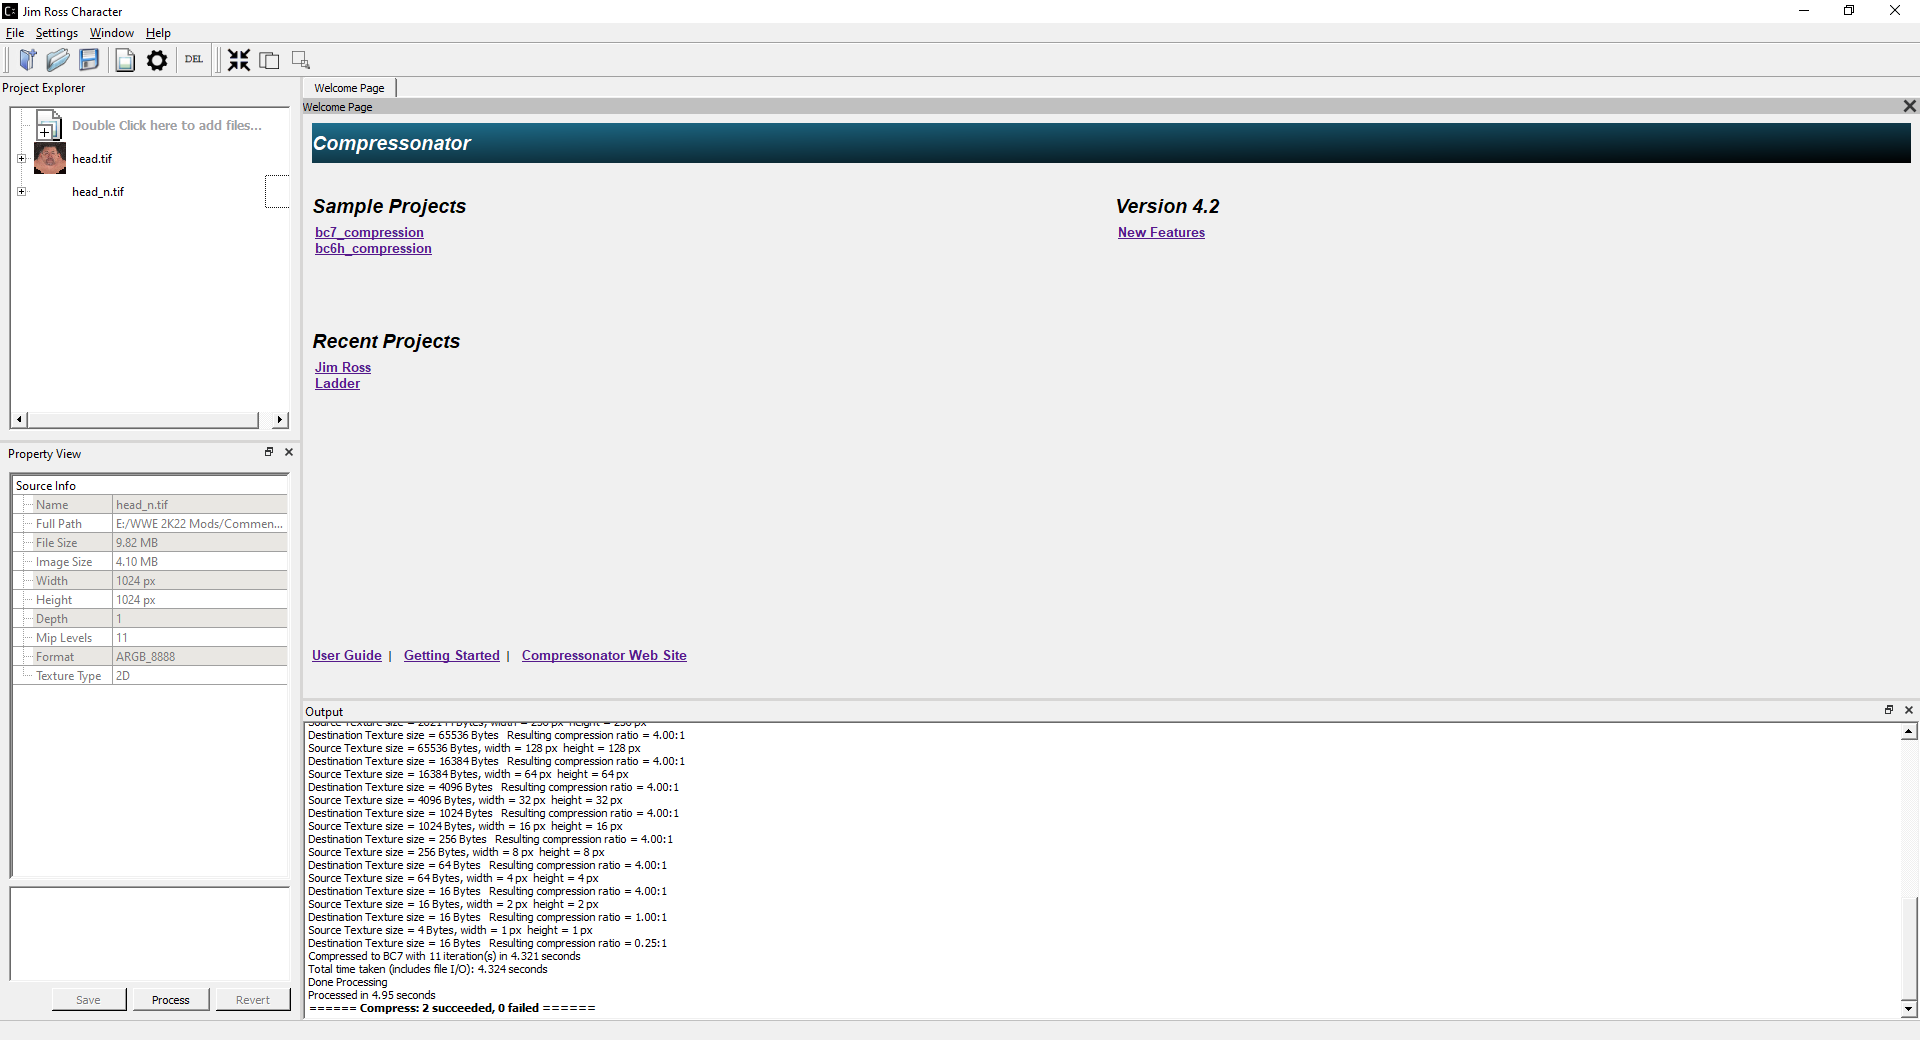
Step #4 | Finished
Once you have processed your images, they are game ready. If you followed this process and used the correct texture configuration, the result in game will be identical to the 2K formatting.