Installing Your First Mod
This is a very basic guide on installing your first mod. Following each step below, will teach you the fundamentals behind what tools you need and they operate.
Prerequisites
| CakeTools | Download Here |
| Mod for installation | |
| CakeTools Fonts | Download Here |
This tutorial assumes that you have patched your WWE 2K22 exe to enable custom CAK files!
Step #1 | Preparation
For the purposes of this tutorial, we will be using Dimma's WWE 2K22 Red/Blue mod.

It is good practice once you have downloaded your mod, to extract it to a folder of its own somewhere on your computer.
Make sure to install the required fonts for CakTools.
Step #2 | Setup Modding
Inside your WWE 2K22 game directory, create a folder called _mods. This is now a dummy folder which will contain all your downloaded mods; CakeTools will use this to bake a new CAK archive.

When we extracted Dimma's mod, inside we see an existing _mods folder. Copy and paste this to merge with your existing folder that is located in your WWE 2K22 game directory.

Step #3 | Baking
Load CakeTools. Then choose 'File > Bake a Folder'.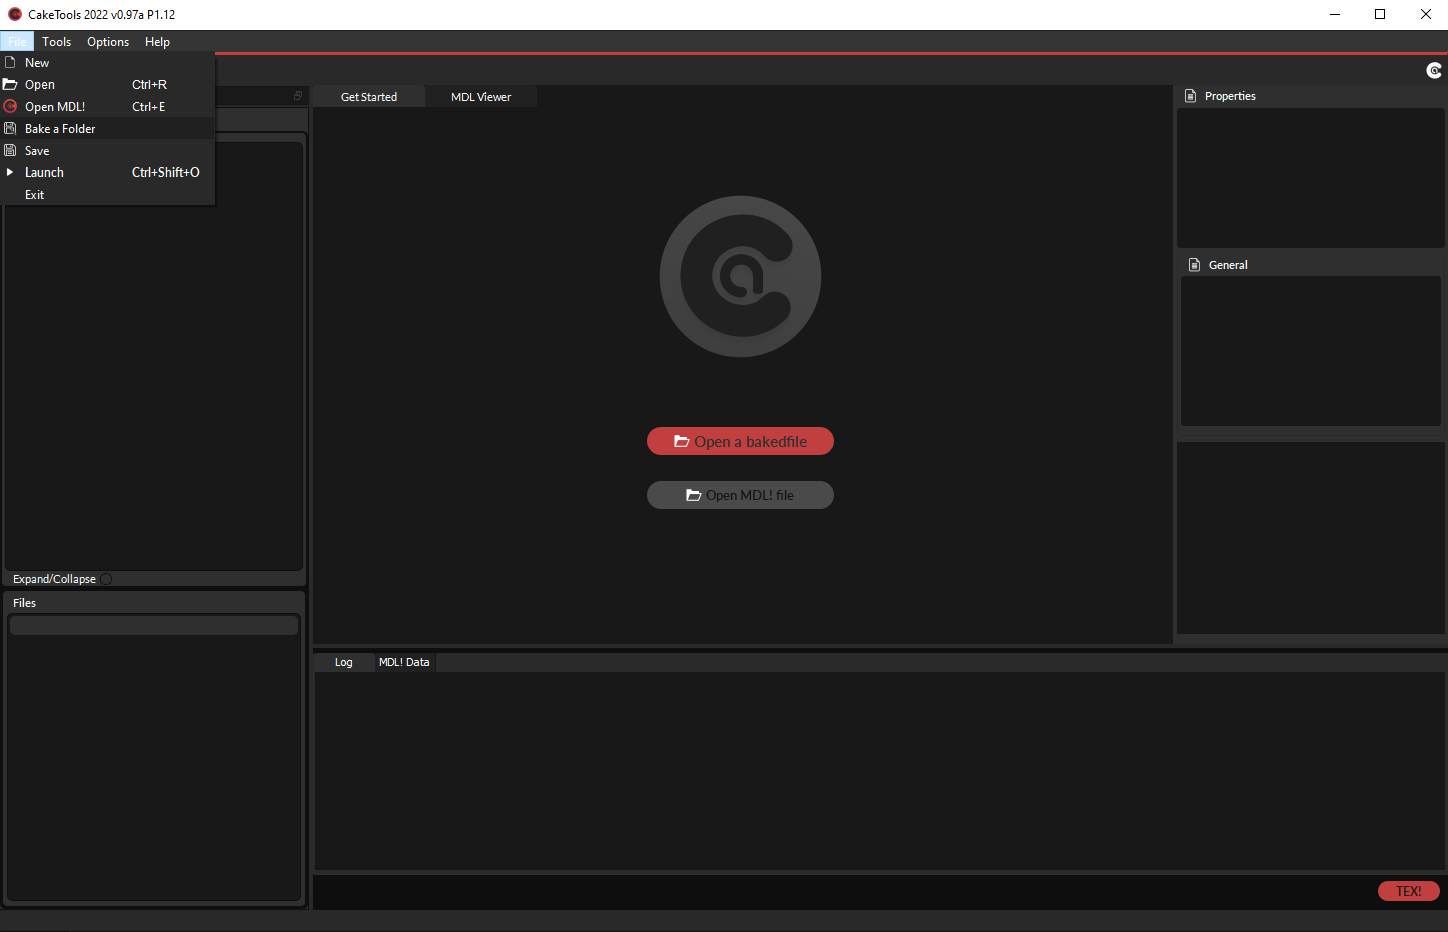
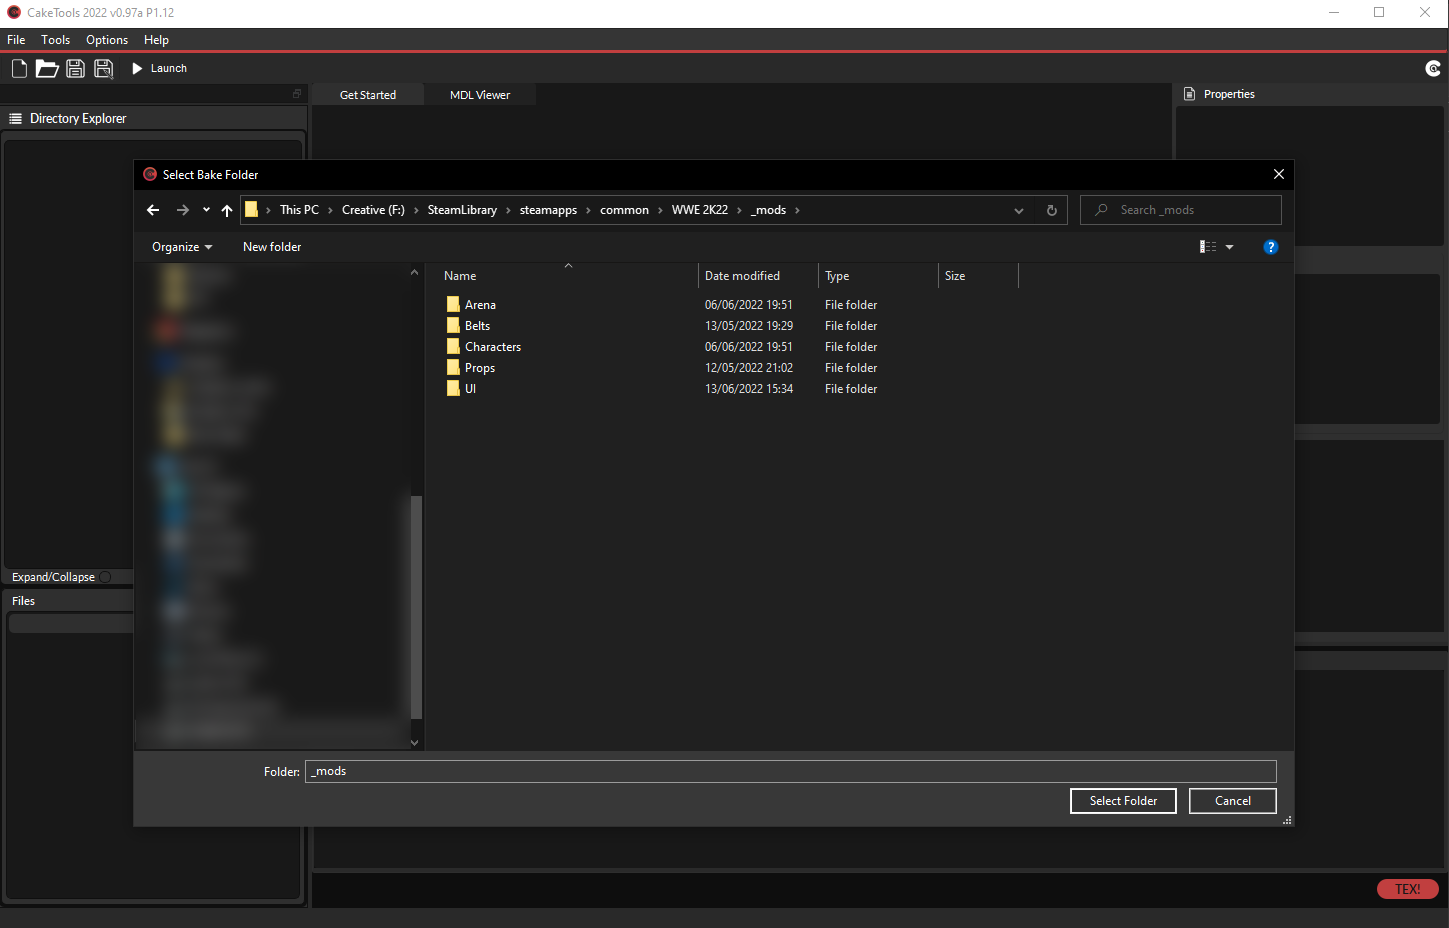
- Locate your _mods folder.
- Click to go through to your _mods folder and select 'Select Folder'.

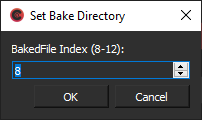
- You will be asked what index number you would like for your CAK. For unexperienced modders, the default 8 is what you're looking for.
- Clicking OK will begin the process of baking your new CAK file. Once complete you will receive an alert notifying you of the successful bake.

Inside your WWE 2K22 game directory, you will now see a bakedfile08.cak. This is your new CAK file that contains the mod you installed.
You MUST re-bake your CAK every time that you install a new mod.
Step #4 | Success
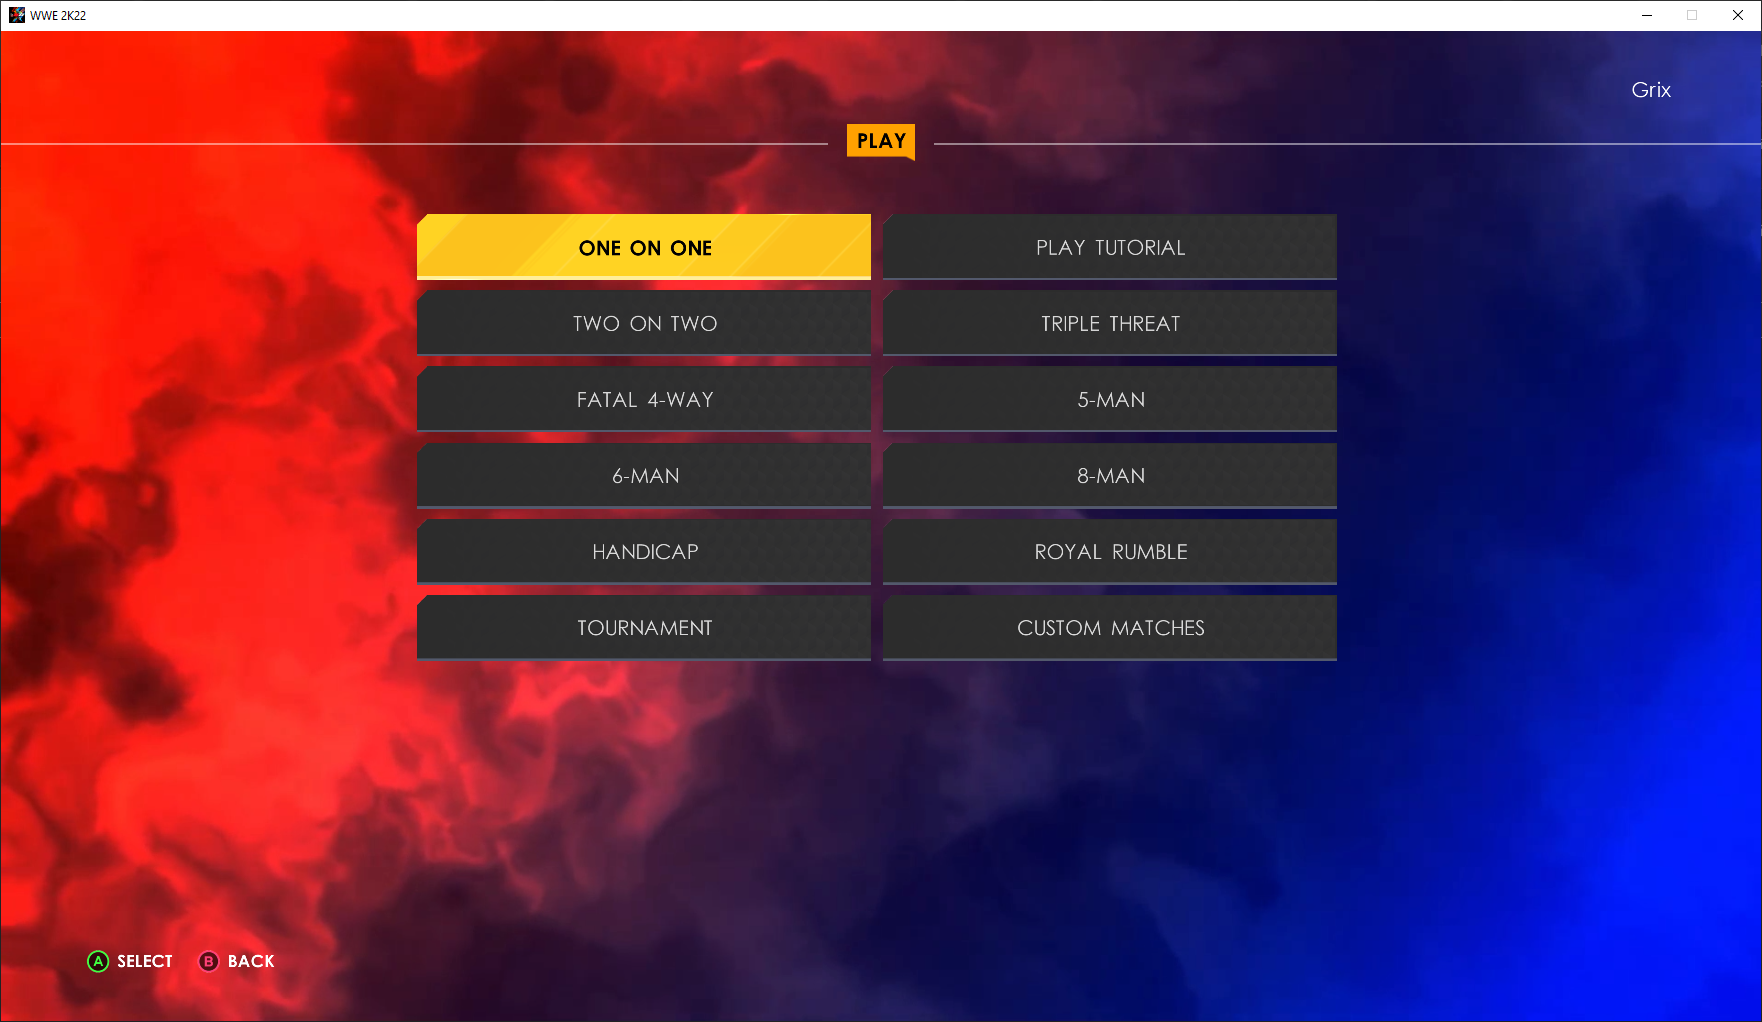
Well done! If you followed the steps correctly, your mod will now be visible the next time that you load the game.